
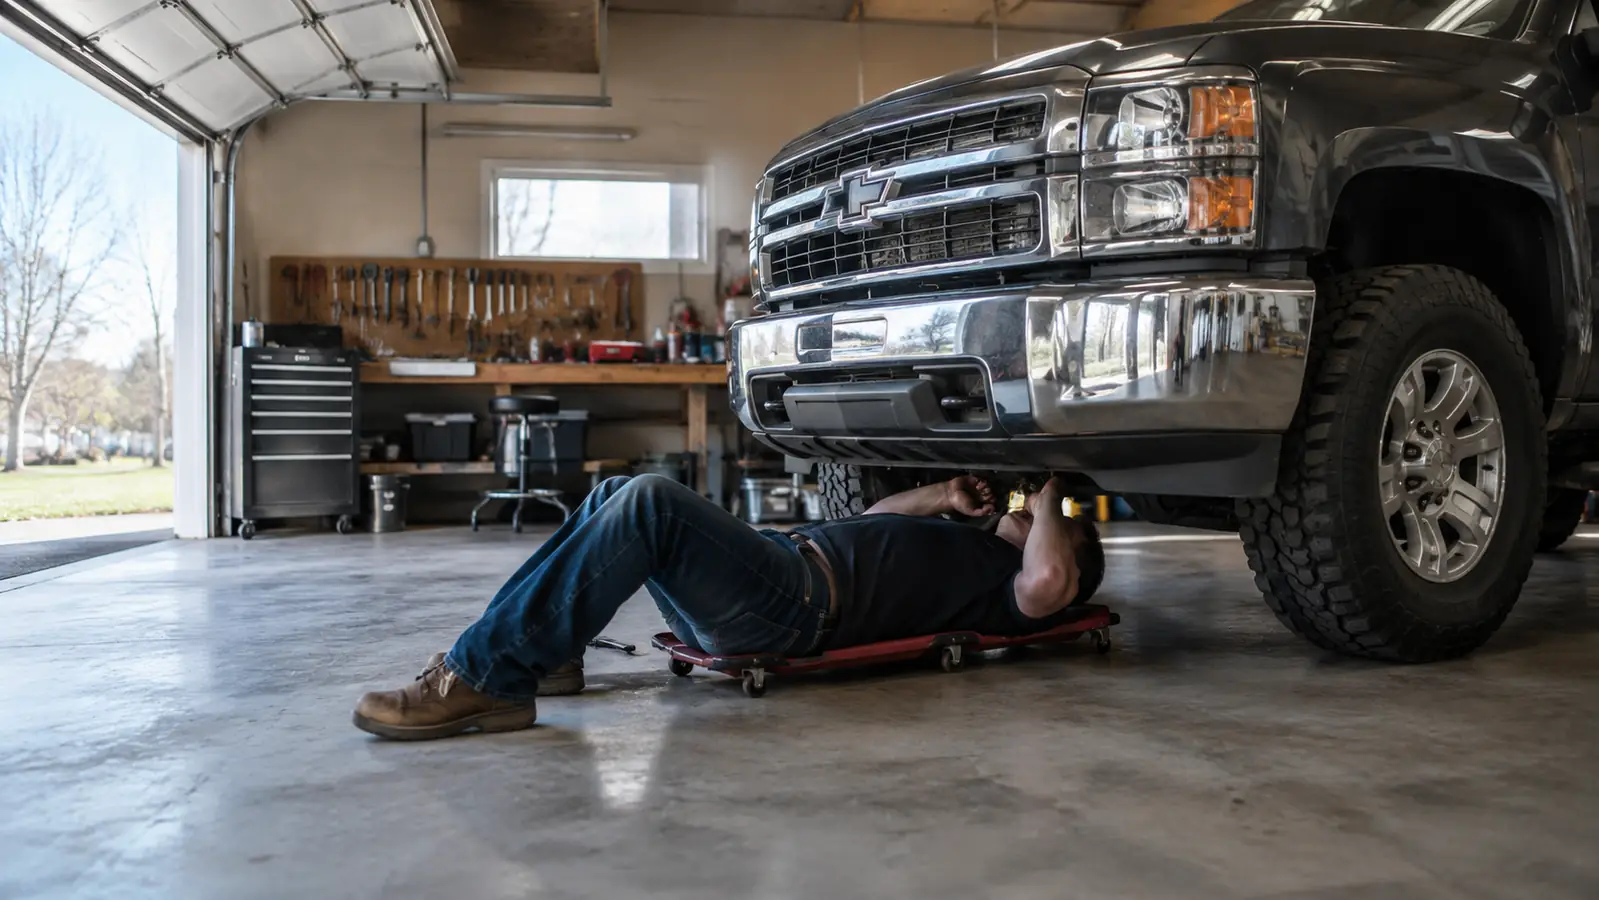
Every pickup owner knows the feeling. The oil change light comes on, you know you can do the job yourself, and then you look at the ground and think about how much your back will complain afterward. The answer is not to pay someone else to do it. The answer is to get yourself off the concrete. A Pro-LifT mechanic creeper makes the whole job easier, and this walkthrough shows you exactly how to use one.
I am Ray Duchesne. I spent 30 years turning wrenches professionally, and now I work out of a detached two car garage outside Scranton, Pennsylvania. My daily driver is a 2014 Ford F-150, and I do every oil change on it myself. This is the method I use, in the order I use it.
The creeper that keeps your back off the concrete
A Pro-LifT Mechanic Creeper rolls flat and smooth under a pickup, so you can get to the drain plug and filter without kneeling on hard concrete. It is the piece of garage equipment that makes DIY oil changes feel like a choice instead of a chore.
Amazon Check Today's Price on Amazon →Step 1: Park on level ground and gather what you need
Level ground matters more than people think. The first time I changed the oil on this truck, I did it in the driveway at the old house, which sloped maybe two inches over its length. I drained it, put in six quarts, and the dipstick read a quart low. I added another quart, drove around the block, and then it read overfull. That is what a slope does. It makes the dipstick lie to you. My garage floor here is flat, poured concrete, but I still check it with a four foot level before I start, because a floor can be off an inch and you will not see it with your eye. If your driveway slopes, find a flat spot or pull the truck up on ramps so the frame is as close to level as you can get.
Before you slide under, lay out everything you need. My list runs like this: six quarts of 5W-30, a Motorcraft FL-500S filter, a 13 millimeter socket for the drain plug, a filter wrench, a drain pan that holds eight quarts, a pair of nitrile gloves, and a roll of shop towels. I set them on the workbench in the order I will use them, left to right. That way I never come out from under the truck looking for a tool I forgot. I also keep a small LED flashlight on the creeper with me, because the drain plug on a dark garage floor is easy to lose sight of once the truck blocks the light.
This is the moment to set up the Pro-LifT creeper too. Before I bought it, I used a piece of cardboard, then a folded moving blanket. The cardboard soaked up oil and tore in two the first time I pushed off with my feet. The blanket bunched up under my shoulder blades and left me trying to crab sideways to reach the plug. The Pro-LifT is the first thing I have found that actually rolls where I point it. It is low to the floor, which means you do not have to squeeze or twist to get onto it. You just sit on the edge, roll onto your back, and push yourself under. The wheels turn smoothly in any direction, so you can steer with one elbow while you hold the drain pan with the other hand.
Step 2: Warm up the engine, then get under
Warm oil drains faster and carries more of the old sludge out with it. I learned that lesson my first winter in the shop, on a tractor that had sat for a month, and I have never skipped a warm drain since. My routine is simple: start the truck, let it idle for about five minutes, then shut it off and give it another minute or two. You want the oil warm to the touch on the dipstick, not hot enough to burn you. If you just drove home from the store, ten minutes of sitting is usually enough. If the truck has been parked all week, which happens here in January, I let it idle longer and watch the temperature gauge before I go under.
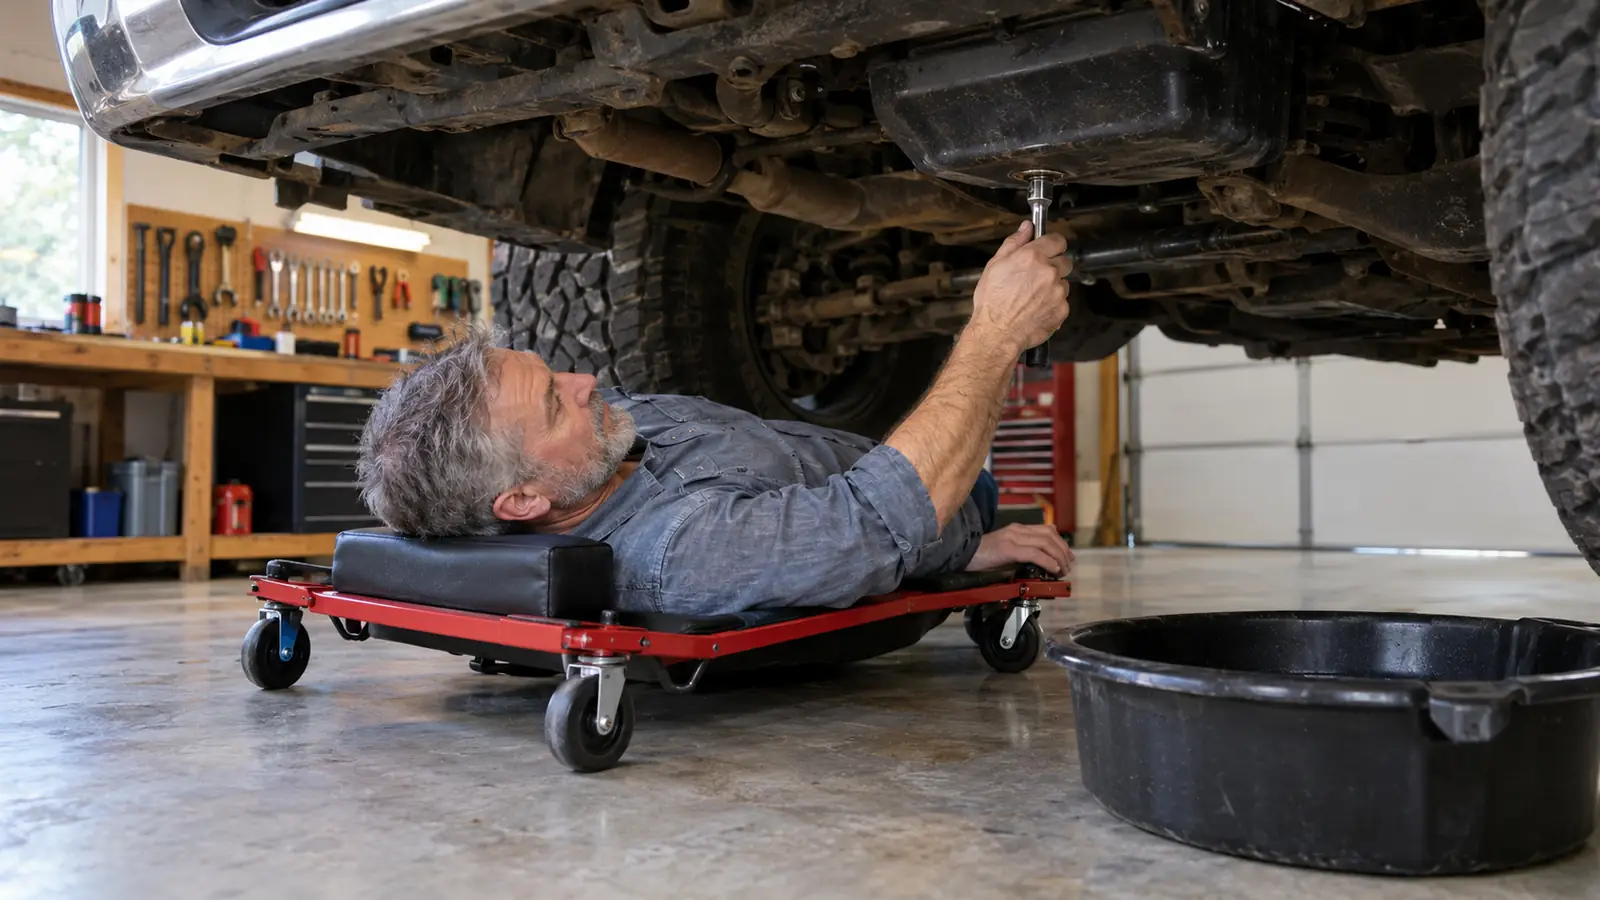
Slide under on the creeper with the drain pan beside you. On this F-150 the drain plug sits on the passenger side of the oil pan, a little behind the front crossmember, and the filter is up front on the driver side, which means I roll out and back in halfway through the job. I position the pan under the plug before I touch the plug, because the first quart comes out fast and it will find the gap between the pan and the floor every time. I like to roll the creeper so my shoulders are under the pan, which puts my hands right where they need to be and keeps the hot oil off my forearms.
Use the correct socket size and break the plug loose with a firm pull. On mine it is a 13 millimeter, and I keep that socket on its own rail so I never grab a 12 by mistake and round the hex. I turn the plug out the rest of the way by hand so I can feel the threads release. Then I move my hand out of the way fast. The oil will come out in a steady stream, and the Pro-LifT creeper gives you the room to stay under and watch it without kneeling in the puddle. That matters, because the first time you do this job you will want to see the color of the oil and check for glitter in it. A creeper lets you look without putting a knee in the pan.
Step 3: Let it drain, then swap the filter
Let the oil drain until it slows to a drip. That usually takes five to ten minutes, and it is a good time to inspect the old filter. Last fall I pulled the filter off this truck and the gasket stayed on the engine, baked on like tar. I did not notice until the new filter was in my hand, and I almost put it on over the old gasket. That is the most common cause of a leak after an oil change. The old gasket sticks to the block, the new filter seals against it, and you get a drip you cannot find. Now I check the mounting surface with a flashlight every time, and I run my finger around the rim to feel for a ridge before the new filter goes on.
Wipe the filter mounting surface clean, then coat the new filter gasket with a thin film of fresh oil. I use the oil from the new quart, and I wipe it on with my finger, the same way I was taught my first week in the shop. Spin the filter on by hand until the gasket touches, then give it another three quarters of a turn. That is enough. A filter that is torqued down with a wrench is a filter you will fight the next time, and on a truck you have to reach over the crossmember for, you will fight it lying on your back.
While you are under there, check the drain plug washer. Most plugs use a crush washer that is meant to be replaced every few changes. The plug on this truck uses a 15 millimeter hex, and the spec in the manual is 20 foot-pounds, which is not much. I keep a torque wrench set to 20 and use it on the plug every time, because I have seen too many oil pans stripped by a plug that was put back with a breaker bar. If you do not have the number handy, snug it firmly and stop. Overtightening strips threads, and stripped oil pan threads are a weekend ruiner. Take the extra minute, because fixing a stripped pan means dropping the pan or worse.
Step 4: Refill, check, and clean up
Lower the truck if you used ramps or jack stands, then add the new oil through the filler cap. My truck takes six quarts with a new filter, and I pour in five and a half first. I wait a full minute for it to settle into the pan, then check the dipstick and top off in half quart steps. It is easier to add a quarter quart than to drain a quarter quart, and I say that from experience. One December night I poured the whole six quarts in without checking, and the level came up a half quart over the full mark. I spent twenty minutes under the truck with a pump bottle getting it back out into the jug.
Start the engine and let it idle for a minute. Check underneath for drips at the plug and the filter. I roll under on the creeper for this part instead of crouching at the bumper, because it is easier to see the two places that leak when you are directly below them. If everything is dry, shut it off, wait a couple of minutes, and check the dipstick one last time. This is also the moment to reset the oil life monitor in the truck. On mine it is a sequence on the dash cluster, and if I skip it the light comes back on a week later to remind me. A few minutes now saves a false alarm later.
Cleanup is where a creeper earns its keep again. I roll out from under, wipe down the creeper with a shop towel, and hang it on the wall hook. The old oil goes into a five gallon jug I keep in the corner for that purpose, and the used filter goes into the box the new filter came in. The next time I am near the auto parts store, I drop both off. Most of them take used oil and filters for recycling. The drain pan gets wiped out and put away, and the floor stays clean. That last part matters more than it sounds. A garage floor with a permanent oil stain reads as neglect, and this truck has been in my driveway since 2014. I want it to look maintained, because it was.
Step 5: Store the creeper where you can grab it
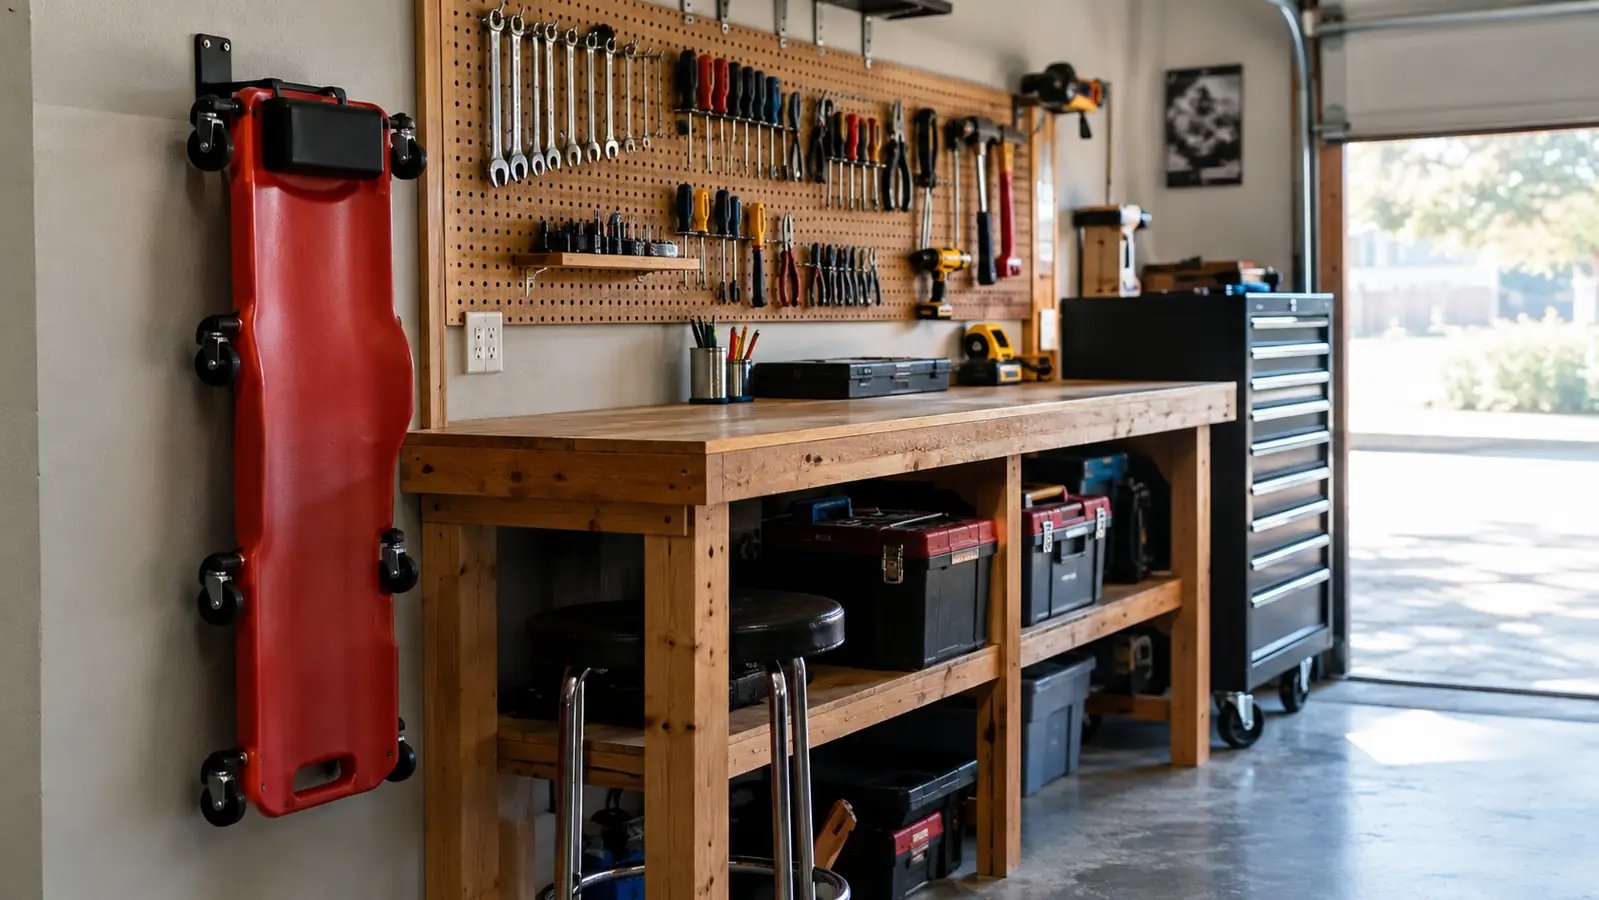
A creeper only helps if it is where you can reach it. Mine hangs on the wall beside the workbench, out of the way but never buried under a pile of stuff. The Pro-LifT has a molded headrest and a sturdy frame, and it weighs enough that I do not worry about it bending or cracking when I lean on it.
The other thing I do is keep a dedicated drain pan and a set of filter wrenches on the same pegboard hook. When the oil change light comes on, I grab everything in one trip. That may sound like a small thing, but it is the difference between a twenty minute job and a two hour job.
A good creeper also changes how often you do the small maintenance jobs. When it takes two minutes to get under the truck and roll around, you will check the oil pan for leaks, look at the tie rod ends, and give the undercarriage a once over while you are down there. That is the kind of habit that keeps a truck running for 200,000 miles.
What Else Helps
A creeper is the foundation, but a few other tools make the job go smoother. A set of ramps or a pair of jack stands gives you more clearance under the truck, which matters on a lowered pickup or a car with a low front lip. A ratcheting socket set saves time when the drain plug is in a tight spot. A good filter wrench, the kind with a strap or a cap that matches your filter, keeps the old filter from becoming a fight. And a magnetic drain plug is a cheap upgrade that catches metal shavings between changes.
I also keep a creeper seat in the garage for the jobs that do not need you flat on your back. It rolls the same way, and it is handy for brake work and tire rotations. But for an oil change, the full length creeper is the right tool, because you can slide all the way under and still have your arms free.
The old gasket sticks to the block, the new filter seals against it, and you get a drip you cannot find.
Make the next oil change the easiest one yet
The Pro-LifT Mechanic Creeper is built for home garage use, with a low profile, smooth rolling wheels, and a frame that holds up to years of weekend work. If you change your own oil, this is the tool that makes you wonder why you waited.
Amazon Check Today's Price on Amazon →