
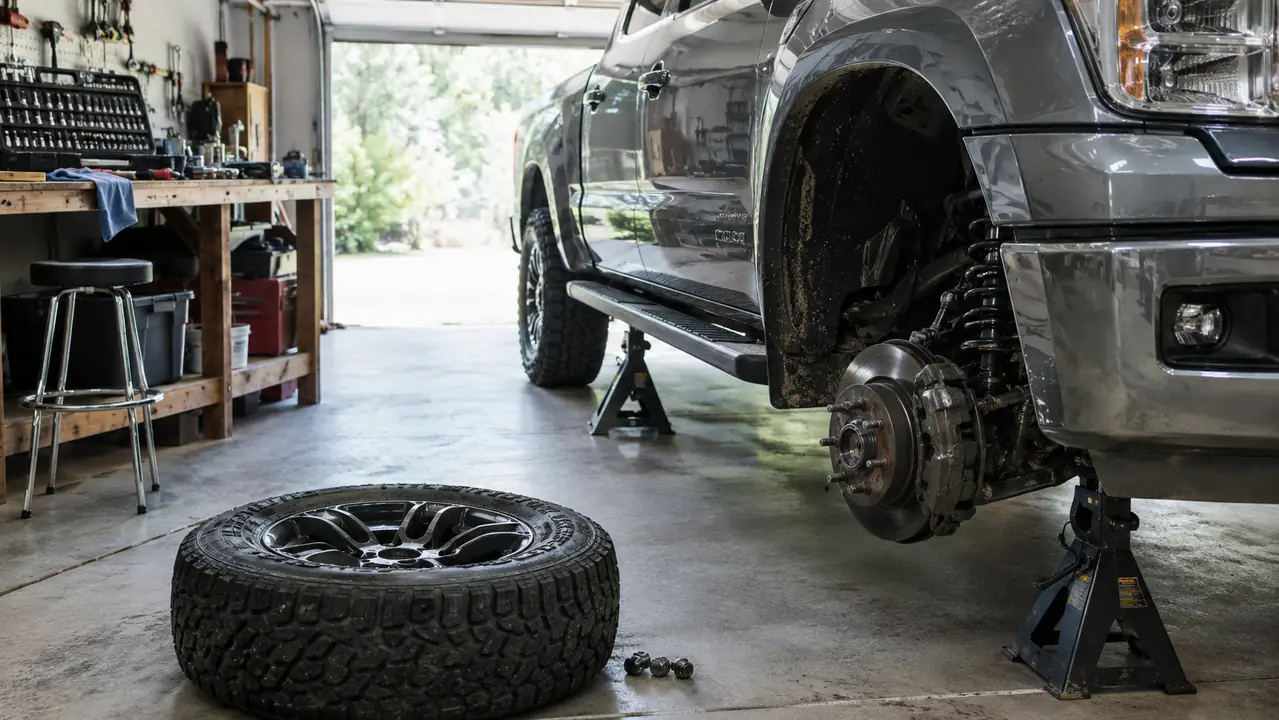
I have owned my 2014 F-150 for nine years, and I have put brakes on it three times. The first time, I drove it to a shop and let someone else do the work. The second time, I did it myself in my garage, and I spent half the job wondering why I had ever paid for something this straightforward. A pickup tells you when the front pads are going. You feel it in the pedal before the dash lights up, a softness that was not there last month. And the cure is not a dealership appointment. It is a jack, a socket set, and a couple of hours on a Saturday.
The shop down in Scranton does honest work, and I am not here to talk anyone out of using a good mechanic. But the job itself is two hours of your own time and parts that cost a fraction of what labor alone runs. I do it with the CRAFTSMAN 159-piece socket set that lives on my workbench, the same set I grab for oil changes and tire rotations, and it carries the whole job with nothing left over, no air tools, no impact gun, no lift. If you have a similar set in your garage, you have everything you need to start.
The One Set That Does the Whole Brake Job
The CRAFTSMAN 159-piece set covers 1/4, 3/8, and 1/2 inch drive with 6 point and 12 point sockets and a 90 tooth ratchet, so the caliper bolts, the bracket bolts, and the lug nuts all come off with tools from a single open case.
Amazon Check Today's Price on Amazon →What You'll Need Beyond the Truck
This job assumes you own a floor jack, a pair of jack stands, and a decent place to work. The socket set covers the turning part. You also want a C-clamp or a brake piston tool to push the caliper piston back, a piece of wire or a bungee to hang the caliper out of the way, and new pads plus the hardware kit if the clips are sold separately. Brake cleaner and a wire brush help clean the bracket before the new pads go in. None of it is exotic. I keep all of it in a milk crate on the shelf next to the workbench.
Step 1: Break the Lug Nuts Loose While the Truck Is Still on the Ground
Find level ground, in the driveway or the garage. Block the rear wheels with a couple of chunks of 2x4 so the truck cannot roll, and set the parking brake. Then pick the right socket from the set, a 6 point, and fit it on the ratchet. Put it on the first lug nut and turn it. You are not removing it yet. You are only cracking it loose, because once the wheel is off the ground, the tire will spin and you will be fighting the truck instead of the nut.
A 6 point socket grabs the flat sides of a hex nut instead of the corners, and that matters on lug nuts that have seen nine Pennsylvania winters and a little rust at the edges. I use the 1/2 drive ratchet from the set for this part, because the longer handle gives you more leverage without you having to lean on the tool. If a lug nut will not move with your full weight on the ratchet, stop and reach for a breaker bar. Do not stand on the ratchet. That is how a man learns words he does not want his neighbors to hear.
Crack all six lug nuts on the front wheel, then move to the other front wheel and do the same. You are doing both sides because you are going to replace both sides. Doing one side only is how you end up with a truck that pulls to one side under braking, and that is a complaint that comes back to haunt you.
Step 2: Jack It Up, Set It on Stands, and Pull the Wheel
With the lug nuts cracked loose, position the floor jack under the front jack point or the frame rail. Jack the truck until the tire clears the ground, then slide a jack stand under the frame and lower the truck gently onto it. Never trust the jack by itself. The jack is for lifting. The stands are for holding. I have watched a jack bleed down slowly while a man had his hands inside the wheel well, and that is not a story with a good ending.
With the truck on the stands, take each lug nut the rest of the way off with the same socket and ratchet. Keep the nuts in an upturned hubcap or a small tray so they stay in order and do not roll off into the dark. Pull the wheel off and lay it flat under the truck. Laying it flat gives you a catch surface for parts and gives the truck a second set of legs under the frame if something ever shifts.
Now you can see the brake assembly. The big shiny disc is the rotor, and the caliper is the metal housing that sits over it like a clamp. The pads live inside that clamp, squeezed against the rotor when you press the pedal. That is the whole system. Everything else is refinement.
Step 3: Unbolt the Caliper and Hang It Out of the Way
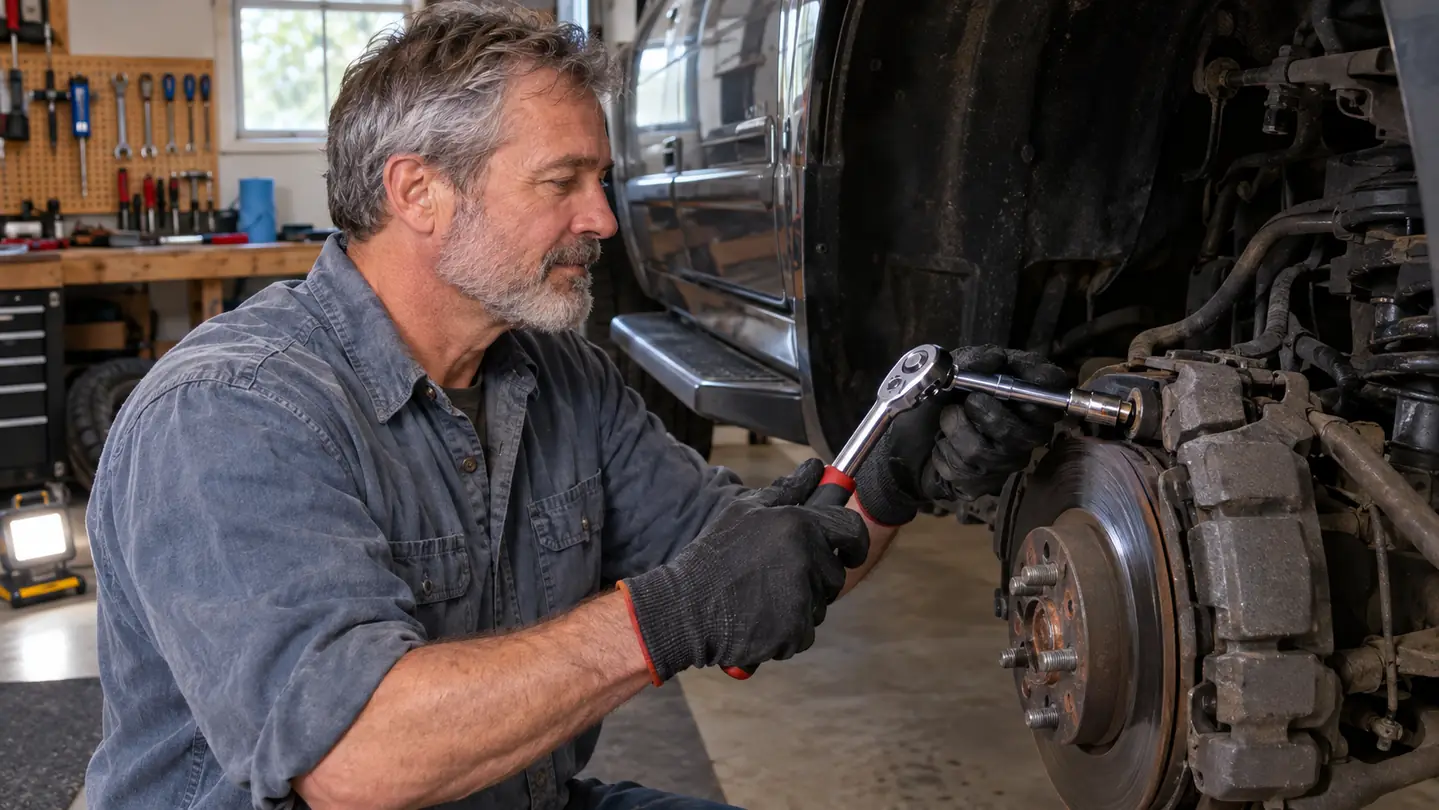
Look at the back of the caliper and you will see two bolts, one at each end, facing the wheel. They are usually a 13 or 14 millimeter head, sometimes 15, and they will be tight. Use a 6 point socket on an extension to reach them, a short extension for the top bolt and a longer one for the bottom if the caliper sits low. Turn them with the ratchet. If they resist, penetrating oil on the threads and ten minutes of patience beats forcing them and rounding a head.
Once both bolts are out, the caliper lifts off the rotor. Before you let it hang, get a piece of wire or a bungee and hook the caliper up to the coil spring or the frame. The brake hose is still attached, and the hose is not built to carry the weight of the caliper dangling from it. Letting it hang by the hose is how a simple pad swap turns into a brake hose job.
Now the caliper is out of the way and the old pads are in plain view. They sit in a metal bracket and squeeze the rotor from both sides. Look at their thickness before you take them out. If you can see less than a quarter inch of friction material left, you are doing this at the right time. If you can see bare metal, you waited too long and the rotor needs attention too.
Step 4: Push the Piston Back and Pull the Old Pads Out
The caliper piston is the round part inside the caliper that presses on the back of the inner pad. When the pads are new, the piston sits deep in its bore. As the pads wear, the piston rides further and further out. To fit new, thicker pads you have to push that piston back in. Take the old inner pad off first, then use a C-clamp or a brake piston tool to press the piston back into the caliper. Go slowly and evenly. If it fights you, loosen the brake fluid reservoir cap, because the fluid has to go somewhere while the piston retreats.
While the piston goes back, pull the old outer pad off the caliper or the bracket. Then check the two slide pins, usually the parts behind the little rubber boots. They should move freely. When they do not, that is half the 'my brakes feel spongy' complaints I have heard over thirty years, and it is not the pads' fault. Clean the pins, put a thin coat of brake caliper grease on them, and make sure they slide.
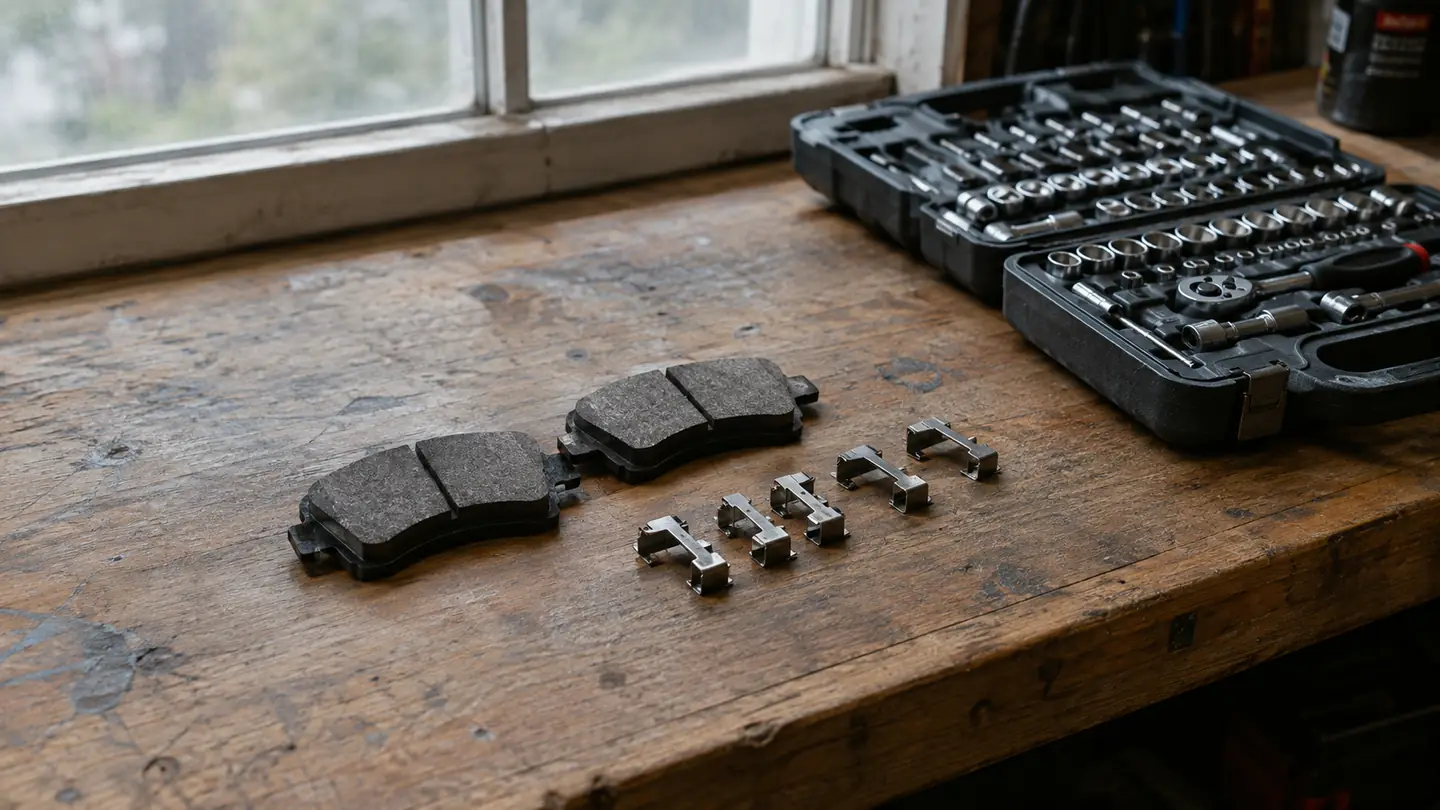
Clean the bracket where the new pads will sit. A wire brush and brake cleaner take the rust dust and old grease off, and then you fit the new clips if your hardware kit came with them. This step is the difference between new pads that bed in clean and new pads that squeal at you for a month.
Step 5: New Pads In, Caliper Back On, and Everything Torqued
Set the new pads into the bracket, inner pad with the wear sensor inboard, outer pad against the rotor. Slide the caliper back over the rotor and the pads, line up the bolt holes, and thread the two bolts in by hand until they are snug. Then torque them to the spec in your owner's manual. If you do not have the manual handy, these caliper bolts generally land in the 20 to 25 foot pound range, but the manual for your exact truck is the authority, not me.
Put the wheel back on, thread the lug nuts on by hand until they are snug, and lower the truck off the stands. Then torque the lug nuts in a star pattern so the wheel seats evenly. Tighten one, move across the circle to the opposite lug, tighten the next one. Once the truck is back on the ground, pump the brake pedal a few times before you drive. The first pump or two will feel soft, even a little dead. That is normal. The piston has to seat against the new pads. Keep pumping until the pedal firms up.
Then take it out and drive gently. The first several stops should be light, speed taken down gradually, so the new pads and the rotor get acquainted before you need them in a hurry. That break in period is called bedding, and skipping it is the usual reason new brakes feel grabby.
How Long It Takes
Plan for two hours the first time you do the front pads. That includes the time you spend hunting for the right socket and convincing yourself the caliper bolts really are that tight. The second time, you will be under an hour and a half with the radio on. If you are doing all four wheels, double it, because the rear brakes on most trucks are a similar job with a few extra parts. My advice is to do the fronts first, drive it for a week, and then decide whether the rears need the same treatment.
What Else Helps
The CRAFTSMAN set carries the brake job on its own, and it handles the rest of the truck too. I have been using mine for a good while now, and I wrote up how it holds up in my CRAFTSMAN 159-Piece Socket Set Long-Term Review. If you are still deciding between this set and another brand, the CRAFTSMAN 159-Piece vs. GearWrench Socket Set comparison lays the differences out row by row.
A torque wrench is the one addition that makes this job genuinely safer, because caliper bolts and lug nuts both have torque specs for a reason. The socket set gives you the sockets and the ratchet; the torque wrench tells you when to stop. And if you are wondering why a full mechanics set belongs in every garage at all, my article on ten reasons every garage needs a mechanic's socket set makes that case without me repeating it here.
Two hours from jack to test drive, and every bolt that turned came off one open case on the bench.
That is the whole job. It is not hard, and it is not fast the first time, but it is the kind of work you can point at in the driveway and know it was done right, by your own two hands, with the same sockets that do everything else on the truck. Diane has learned to ask what is going up on stands next, and I have learned that a job goes better when every tool lives in one open case.
Do the Job Once With a Set That Won't Fight You
The CRAFTSMAN 159-piece set covers the brake job and the rest of the truck, with the sockets, extensions, and ratchets you need all in one case. That is the point of a garage set: when the job is in front of you, the tool is already in the box.
Amazon Check Today's Price on Amazon →